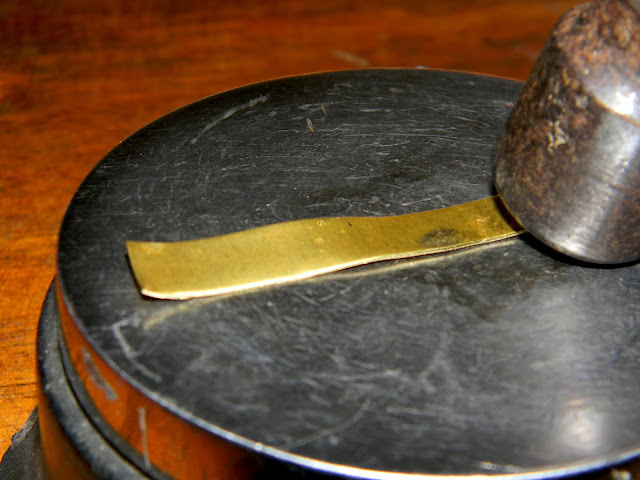
For all of my sheet metal jewelry, I use 24 gauge metals. It comes raw in a long sheet.
I use very heavy duty scissors and lots of hand muscles to cut it into the desired shape.
It's super sharp on the edges after cutting, much like the edges of a tin can top after opening it with a can opener. The first step in smoothing out the edges is to pound the edges flat using a heavy hammer and my trusty lil' anvil.
This not only helps to prepare the edges for polishing smooth, it also helps to shape the metal and gives it texture as well.
Next, I use a heavy duty black emery board (yes, for fingernails!) to smooth out all of the edges and corners of the piece. I also sand over the front and back faces to remove any hammer marks and make the metal appear more polished.
Even after a good sanding, those edges are still pretty sharp and could probably give a nice cut, so I use a fine grade nail buffing block to smooth out the edges, corners and both sides.
Now that the metal is completely prepared, I mark where I want to punch the holes.
I love this tool!!! It is supposed to be for punching leather, but I use it on sheet metal to mark holes, and more than anything to texturize and add designs.
Next, I use my other beloved tool, my heavy duty metal hole punch and punch my marked holes.
For this piece, I want the metal to appear a little less polished and a little more aged. I use my pencil torch to apply some heat. This quickly changes the color to a less "new" appearance.
Now I'm ready to attach the jump rings and create the straps.
I have tons of leather - in all different colors. I buy what other people call "scrap leather" but it's perfect for my uses. One person's trash is another person's treasure!
I use E-6000 adhesive. It holds forever and a lifetime, but is pliable when it's dry making it perfect for use on leather and fabric.
Here's the finished product - photographed and posted on my website.


No comments:
Post a Comment