Showing posts with label tutorials. Show all posts

4/17/13

Creating Patinas for Copper

I'm definitely not a chemist and on top of that, I'm very clumsy.  Thus, I'm always a bit reluctant to work with chemical solutions of any kind.  Who knows what kind of toxic smoke cloud I could accidentally create!?!?  But when came across a pin on Pinterest about colorizing copper using a solution of ammonia and salt, I thought "Sheez, even I can do that!"

I've played around with the solution and few times now.  There is no way to control the colors or patterns that develop, however, I'm loving the randomness of the results. 

I made this copper cuff and decided to see what sort of magic potion I could create for it.


I placed the bracelet in a plastic, airtight container, layering the bottom with paper towels, a small amount of ammonia to moisten the towels and a layer of salt.

 
Then, I put the bracelet on top of the towels/salt/ammonia and again, layered it with salt and a layer of towels -- moistening it with the ammonia.  Not so much ammonia that the salt would get rinsed away - just enough to moisten it.


I covered the container and let it do it's thing for a short while. 


TICK TOCK TICK TOCK

There isn't a specific time that the magic happens, I just had to keep checking back until the piece looked "done".  After about and hour I checked it to see how things were developing.


I wanted there to be a bit more coloration on the front so I relayered and resalted it and put it back for about another 45 minutes. After that, I felt it looked pretty good so I rinsed it with water and applied a coat of Renaissance Wax to help deter oxidization and seal the patina.

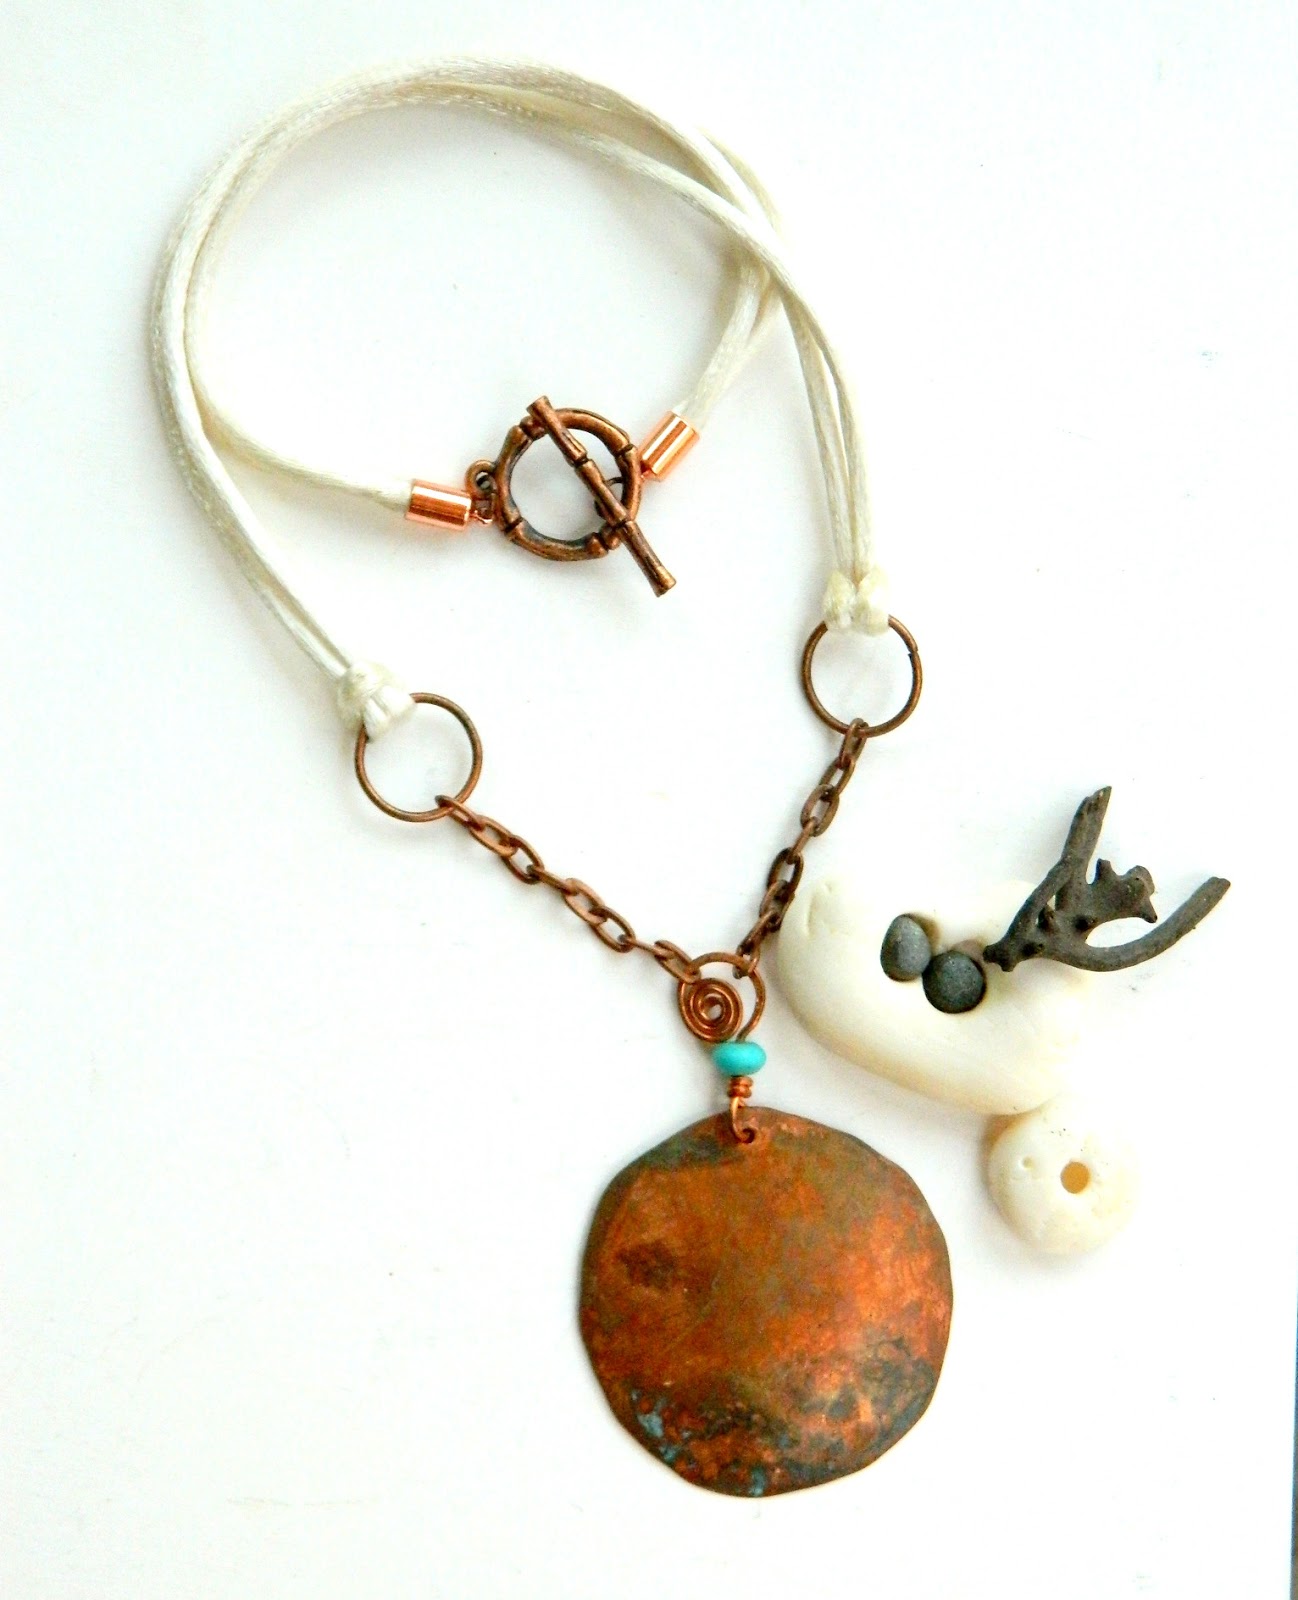
This was the end result.


I love the turquoise!

Here are a few other pieces I've experimented with.


Supposedly the solution works on brass as well.  That'll be my next adventure.

11/26/12

~ Leather ID Bracelet ~

People always ask me how things are made and how long each piece takes to create.  The majority of my jewelry is completely handmade by me - having only certain pre-fabricated components (like jump rings).  I recently made a production of sheet metal and leather ID bracelets.  This is the process for making them.

For all of my sheet metal jewelry, I use 24 gauge metals.  It comes raw in a long sheet.


I use very heavy duty scissors and lots of hand muscles to cut it into the desired shape.


It's super sharp on the edges after cutting, much like the edges of a tin can top after opening it with a can opener.  The first step in smoothing out the edges is to pound the edges flat using a heavy hammer and my trusty lil' anvil.


This not only helps to prepare the edges for polishing smooth, it also helps to shape the metal and gives it texture as well.


Next, I use a heavy duty black emery board (yes, for fingernails!) to smooth out all of the edges and corners of the piece.  I also sand over the front and back faces to remove any hammer marks and make the metal appear more polished.


Even after a good sanding, those edges are still pretty sharp and could probably give a nice cut, so I use a fine grade nail buffing block to smooth out the edges, corners and both sides.


Now that the metal is completely prepared, I mark where I want to punch the holes.


I love this tool!!!  It is supposed to be for punching leather, but I use it on sheet metal to mark holes, and more than anything to texturize and add designs.

Next, I use my other beloved tool, my heavy duty metal hole punch and punch my marked holes.


For this piece, I want the metal to appear a little less polished and a little more aged.  I use my pencil torch to apply some heat.  This quickly changes the color to a less "new" appearance.


Now I'm ready to attach the jump rings and create the straps.


I have tons of leather - in all different colors.  I buy what other people call "scrap leather" but it's perfect for my uses.  One person's trash is another person's treasure!


I use E-6000 adhesive.  It holds forever and a lifetime, but is pliable when it's dry making it perfect for use on leather and fabric.


Here's the finished product - photographed and posted on my website.
Total work time - about 40 minutes.